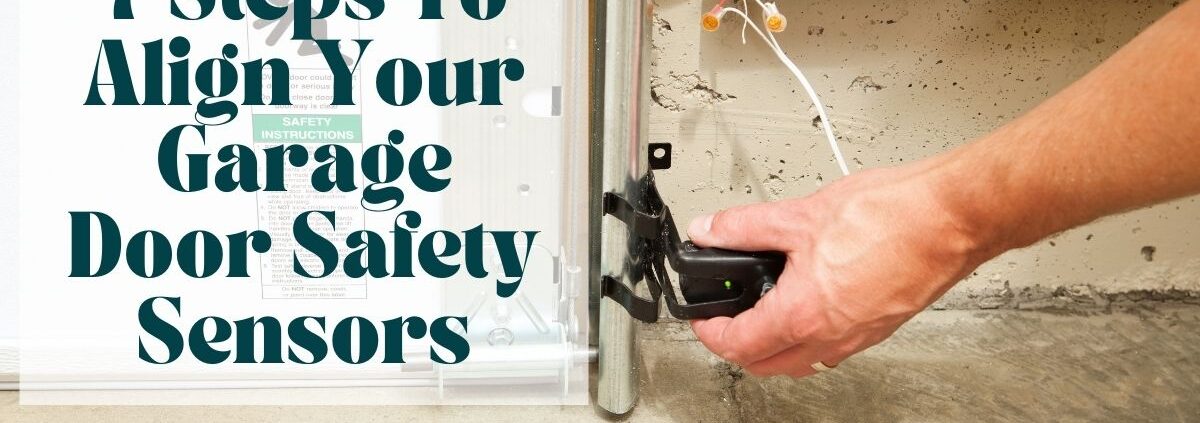
7 Steps To Align Your Garage Door Safety Sensors
Have you had any experience wherein you have to get out of your car just to open and close your overhead door by hand every time you leave or return home? Yes, your garage door isn’t working as it used to be. If this is the case, you may need to align your garage door sensors.
The performance of a garage door depends on its sensor. The emitter (amber light) sends signals to the receiver (green light), which shuts your front door. The led lights on both the sending and receiving sensors will shine continuously when the wiring connections and alignment are exact.
However, if both of them are not aligned, the receiver will not receive the signals from the sender or emitter. As a result, your door will not open or close.
Fortunately, it is not complicated to realign the safety sensors on your garage door. As you go through this article, you will learn to align your garage door sensors by following our step-by-step procedure.
Tools Needed for Aligning Your Garage Door Sensors
Gather the following necessary equipment:
- Electricity-resistant gloves
- Screwdriver
- String
- Level
Steps on How to Align Garage Door Sensors
Consider following our step-by-step guide on how to align garage door sensors:
Step #1: Turn off Your Garage’s Power Supply
Disconnect the power supply to your safety sensors by turning off their switch or controller if they are manually plugged into an outlet or shutting off the fuse of your whole garage from your property’s breaker box.
You may not be working with live wires. But still, ensure to wear a pair of electricity-resistant gloves first for personal safety since you are dealing with cables.
Pro Tip: When purchasing electrical-resistant gloves, especially check out their ‘class.’ Rated ‘Class 0 or Class 00’ gloves can hold out against up to 500 volts AC. Thus, providing you adequate protection when aligning your garage door safety sensors.
Step #2: Loosen The Screws Holding The Safety Sensors
You will be sliding the mounting brackets up and down in the following steps. So you need to unfasten them of the safety sensors by loosening their screws using a screwdriver—no need to take the screws all the way out.
Step #3: Slide Your Garage Door Photo-eye Sensors Downward
After loosening the screws and ensuring that the mounting brackets can easily be slid up and down, move the door sensor smoothly downward with your hands.
Never use a wrench to slide the sensor to avoid leaving marks on its surface. It may interfere with its performance. Slide the sensors as low as possible while keeping them inside the mounting brackets.
Step #4: Connect the String and Secure It by Tying the Knots
Once you have already slid the sensors downward (as low as possible), connect one end of a string to one of the safety sensors and its mounting bracket, then tie the knot tightly and correctly. Doing this step can significantly affect the success or failure of the overall operation.
Take the end of the untied string and roll it around the center of the other sensor, then tie the knot properly. The string from one sensor to the other must be as straight as possible.
Step #5: Check the String if It is Leveled
Check the level of the string by placing a level below it. The line should be running evenly across the garage doorway. You would also have to hold the level against the string for a few seconds.
If the line is level, go to the next step. If not, you may have to adjust one or both safety sensors by sliding their mounting brackets carefully until the level displays that both sensors are aligned.
Step #6: Tighten the Screws
Once both sensors are on the same level, begin fastening the screws. As you tighten them carefully, see that the garage door sensors are not moving from their new position.
After tightening the screws, use the level to ensure that both sensors are not out of alignment.
Step #7: Remove the String
After making sure that both sensors are on the same level, start removing the string. Then turn on the power to your garage to test the sensors if they work fine. If not, you will have to seek help from a professional for garage door repair.
Frequently Asked Questions
How Do Garage Door Photo-eye Sensors Work?
Your garage door has two sensors: the emitter and the receiver of signals. They have infrared light, which the naked eye cannot see. Through the infrared light, the emitter sends the signal to the receiver, which begins the process of shutting down your overhead door.
Whenever there’s an obstruction, the sensors will cease the door’s operation to prevent whatever is underneath the garage door from getting damaged.
Why Are My Garage Door Safety Sensors Not Working?
Here are some of the reasons:
1. There’s excessive dirt on the sensors
2. Connection wires are damaged
3. The sensors have been exposed to direct sunlight for so long
4. The door’s excessive vibrations have affected the sensors
5. Both sensors are incorrectly aligned with one another
6. Improper wiring between the garage door opener and the sensors
How Can I Disable the Garage Door Sensors?
If you observe that your safety sensors are malfunctioning, you have to disable them all together to avoid a possible injury.
1. Disconnect both sensors by manually turning the switch off and pulling the wires that supply them electricity.
2. If your garage door sensors have the bypass-mode option, select that option to disable them.
Seek Assistance from Inland Overhead Door Company
Aligning faulty garage door sensors is not that hard to do. You can get the task done with the right materials and enough time. However, if your building’s garage door concern still exists even after following our step-by-step procedure, then you will have to contact a professional for garage door service.
Inland Overhead Door can inspect and repair garage doors – from mild issues to severe ones for commercial buildings. Our company has a team of exceptionally trained and skilled specialists who can considerably manage any of your garage door issues. We are available mainly in your time of need, 24/7.
Hesitate not to get in touch with us today for more details about our professional services.


